Introduction
Samsung laptops combine sleek design with high functionality, but a damaged screen can halt productivity. Whether due to an accidental drop or an undetected glitch, screen issues require prompt attention. Engaging with this guide can empower you to replace your screen efficiently, saving time and potentially avoiding costly repairs.
Identifying Screen Problems
Recognizing screen issues is crucial for timely action. Common signs of damage include visible cracks or flickering displays that can disrupt tasks. Dead pixels or lines on your screen may indicate an underlying issue demanding your attention. Start by connecting your laptop to an external monitor. If the external display remains unaffected, the problem is likely screen-related. Additionally, ensure that all software and drivers are up-to-date, as these can impact display performance.
Once you’ve verified that the screen is the issue, preparation is the next step in the process.

Preparing for Screen Replacement
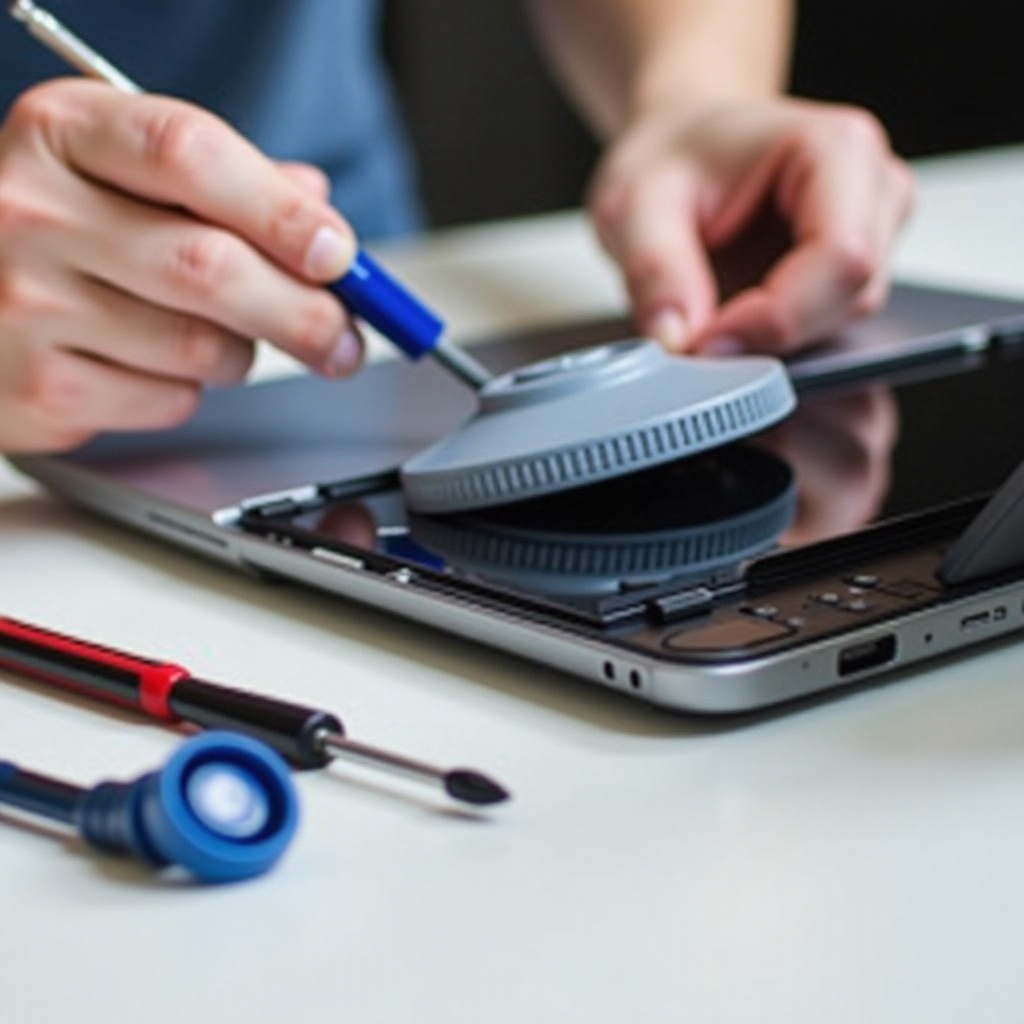
Set the stage for a successful replacement by gathering necessary tools:
- Screwdrivers and Pry Tools: Essential for disassembling and assembling components safely.
- Replacement Screen: Ensure compatibility with your Samsung model in terms of size and connectors.
Safety is essential. Completely power off your laptop and remove any power sources. Work in a static-free environment to protect sensitive components. An anti-static wristband is a practical addition to your toolkit.
Step-by-Step Screen Replacement Process
Armed with tools and knowledge, you are ready to tackle the replacement.
- Removing the Damaged Screen:
- Disassembling the Bezel: Use a pry tool to gently remove the bezel. Begin at a corner to avoid permanent marks.
-
Disconnecting the Old Screen: Once the bezel is removed, unscrew and disconnect cables carefully.
-
Installing the New Screen:
- Connecting New Screen Cables: Snap in the new screen, securing cables firmly to ensure a stable connection.
- Securing the New Screen and Reassembling: Reattach the bezel and confirm all screws are tight.
Check your work by powering on the laptop to see that the display is functioning correctly. Calibrate the screen settings for optimal use.
Post-Replacement Checks and Maintenance
It is crucial to ensure the replacement was successful through various tests. Confirm the display’s performance and make adjustments to brightness and contrast as needed. Regular maintenance, such as screen cleaning and adjusting settings, extends the screen’s longevity and enhances user experience.
Troubleshooting Common Issues
Despite following instructions meticulously, issues can arise.
- Recheck Connections: Loose cables often cause problems.
- Update Drivers: Ensure you have the latest graphics drivers for seamless performance.
Professional help is advisable if issues persist after attempting these solutions. A specialist can address complications or overlooked elements.
Conclusion
Replacing your Samsung laptop screen reinvigorates your device, boosting both performance and confidence in tackling technical issues independently. By meticulously following this guide, you gain a valuable skill and maintain your device’s seamless operation.
Frequently Asked Questions
How long does a Samsung laptop screen replacement take?
Typically, a screen replacement can take between one to two hours, depending on your familiarity with the process and your specific model.
Can I use a generic screen for my Samsung laptop?
While generic screens might fit, it is ideal to use one specified for your exact model to ensure compatibility and performance.
What should I do if I damage another part of the laptop during replacement?
If you damage another component, assess whether it’s a critical part. Minor damages might be fixable, but significant issues should be addressed by a professional technician to avoid further complications.