Introduction
AirPods are an essential part of many audio experiences, providing wireless convenience and high-quality sound. However, if the LED indicator light on your AirPods doesn’t turn on, it can be frustrating. The LED light plays a crucial role in informing you about the status of your AirPods, including charging levels and connectivity states. This guide will explore the reasons behind a non-functional LED light and offer practical solutions to get your AirPods back on track.
Understanding AirPods LED Indicators
The LED indicator on your AirPods may seem minor, but it is pivotal in understanding the device’s status. When functioning correctly, it alerts users to critical conditions like charging status, needing a reset, or establishing a connection. Yet, issues arise when the light fails to operate, leaving many users puzzled.
LED Light Functions and Meanings
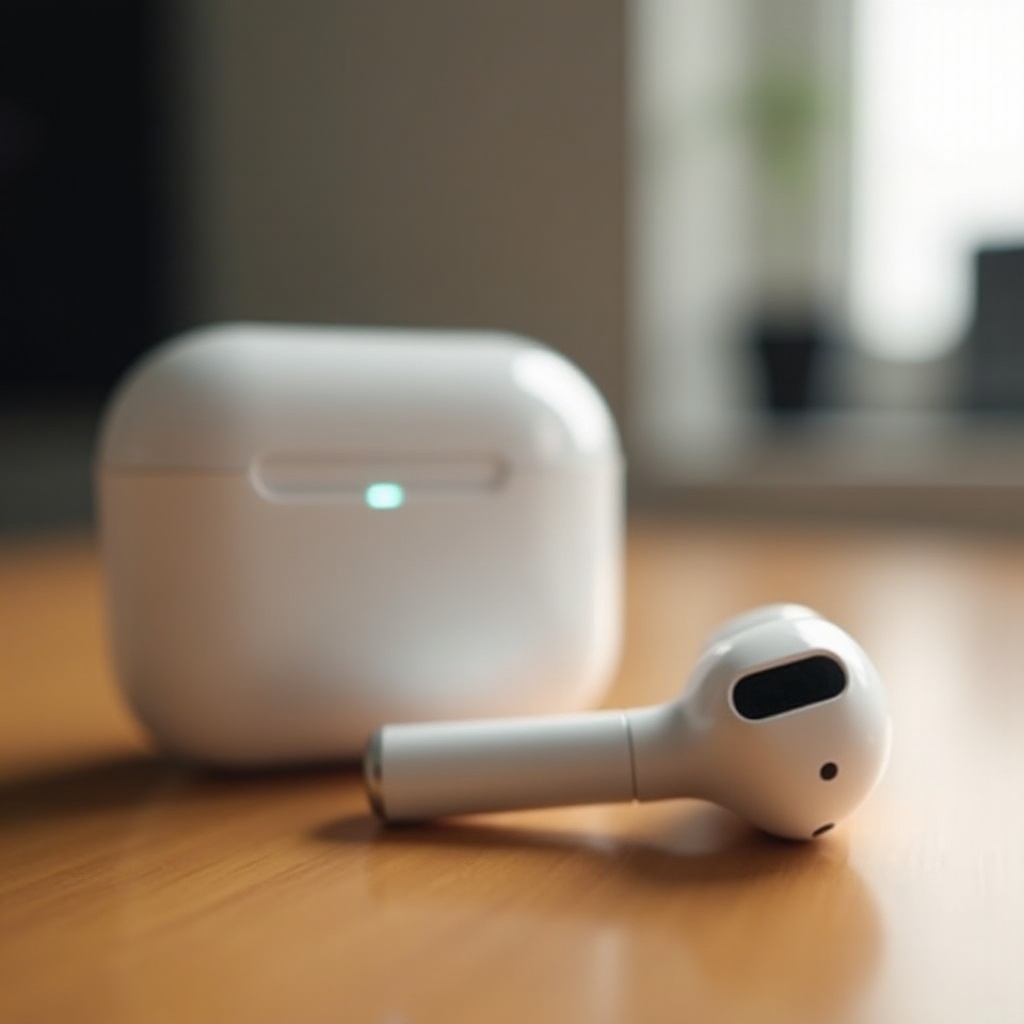
The AirPods’ LED light emits different signals to convey various statuses:
– A green light indicates the AirPods or case is fully charged.
– An amber light signals ongoing charging.
– No light often suggests the AirPods require charging or indicate a deeper issue.
Common LED Light Issues Reported by Users
Several users encounter similar issues with their AirPods:
– The LED light does not activate even after several charging attempts.
– The light seems to flicker or turn off unexpectedly.
Recognizing and understanding these frequent issues can help address the root cause effectively.

Reasons Behind a Non-Functional LED Light
Various factors can lead to the LED light not turning on, and identifying these causes is essential for troubleshooting.
Battery Issues and Solutions
One of the primary causes for the LED light not functioning can be attributed to battery-related problems. To determine if this is the issue:
1. Ensure both the AirPods and their charging case have sufficient battery by charging them.
2. Inspect the charging port for dirt or debris and clean it cautiously with a soft, dry brush.
Charging Case Malfunctions
- First, test the charging cable with another device to ensure it’s not faulty.
- Examine the case for any visible damage. Physical damage might require you to replace the case.
These are immediate measures to address any potential hardware malfunctions.
Software and Connectivity Problems
Software issues can also be the culprit. Make sure your AirPods and paired device have the latest firmware installed, as outdated software might cause the LED to malfunction.
Step-by-Step Troubleshooting Guide
If identifying the issue doesn’t solve your problem, it is time to move to action.
Checking and Charging the Battery Properly
- Connect your AirPods to a charger for at least 20 minutes.
- Confirm the power outlet, adapter, and charging cable are all functioning properly by testing them with other devices.
Verifying Software and Firmware
- Open the settings on the device paired with your AirPods.
- Verify both the device and AirPods firmware are up-to-date. Updating can often resolve hidden connectivity issues.
Resetting AirPods Effectively
- Open your AirPods’ case.
- Press and hold the setup button for about 15 seconds, waiting for the LED to flash amber, then white.
- Reconnect your AirPods to the device, checking if the issue is resolved.
Advanced Troubleshooting Techniques
When basic steps fail, advanced methods might be necessary to solve the issue.
Using Diagnostic Tools and Apps
Some third-party applications, like the AirPods Battery Monitor, can provide a deeper diagnostic by offering insights into battery health and functionality.
Professional Repair Options
Should these steps fail, Apple Support offers the next best solution. They may request you send the AirPods for a detailed assessment and possible repair to resolve persistent issues.

Preventative Measures and Maintenance Tips
Regular, mindful maintenance of your AirPods can prevent future hassles.
Best Practices for Daily Use
- Always use original accessories for charging.
- When not in use, keep your AirPods securely in their charging case.
Common Mistakes to Avoid
- Do not use the AirPods while plugged into the charger.
- Never expose them to extreme temperatures as they can harm the battery and internal components.
Conclusion
AirPods are invaluable tools for many, so resolving issues with the LED indicators is paramount. By understanding potential causes and taking preventive actions, you ensure a longer life span and enhanced functionality of your AirPods. When troubleshooting, always start with the basics, advancing to more complex solutions if necessary. Regular maintenance is the key to keeping your device efficient and problem-free.
Frequently Asked Questions
How long should AirPods charge before the light turns on?
Typically, give your AirPods at least 20 minutes of charging to see a response from the LED light.
What does a flashing amber light indicate?
A flashing amber light suggests your AirPods are not paired correctly, or might need to be reset.
How can I contact Apple Support for more help?
Visit Apple’s official website and navigate to the support section, where you can schedule a call or chat with an agent.